Probing with a Vision System
A common obstacle in producing airfoils is trimming the flushes on CNC machines. The challenge lies in the geometrical deviation between parts, which makes a universal CNC program for trimming with reasonable accuracy almost impossible.
One way to try to clear this hurdle is to use a digital probe to locate the part on the fixture, gauge its rotational angle and perhaps identify the shrinkage on both the X and Y axes. This process assumes that all deviations are linear and can be calculated for trimming. Unfortunately, this is not the case.
In further trying to improve the probing process, a machine operator can divide the part in several regions and collect more probing points. However, because of the small size of the features and large deviations, this too ends up being impractical or at least very slow.
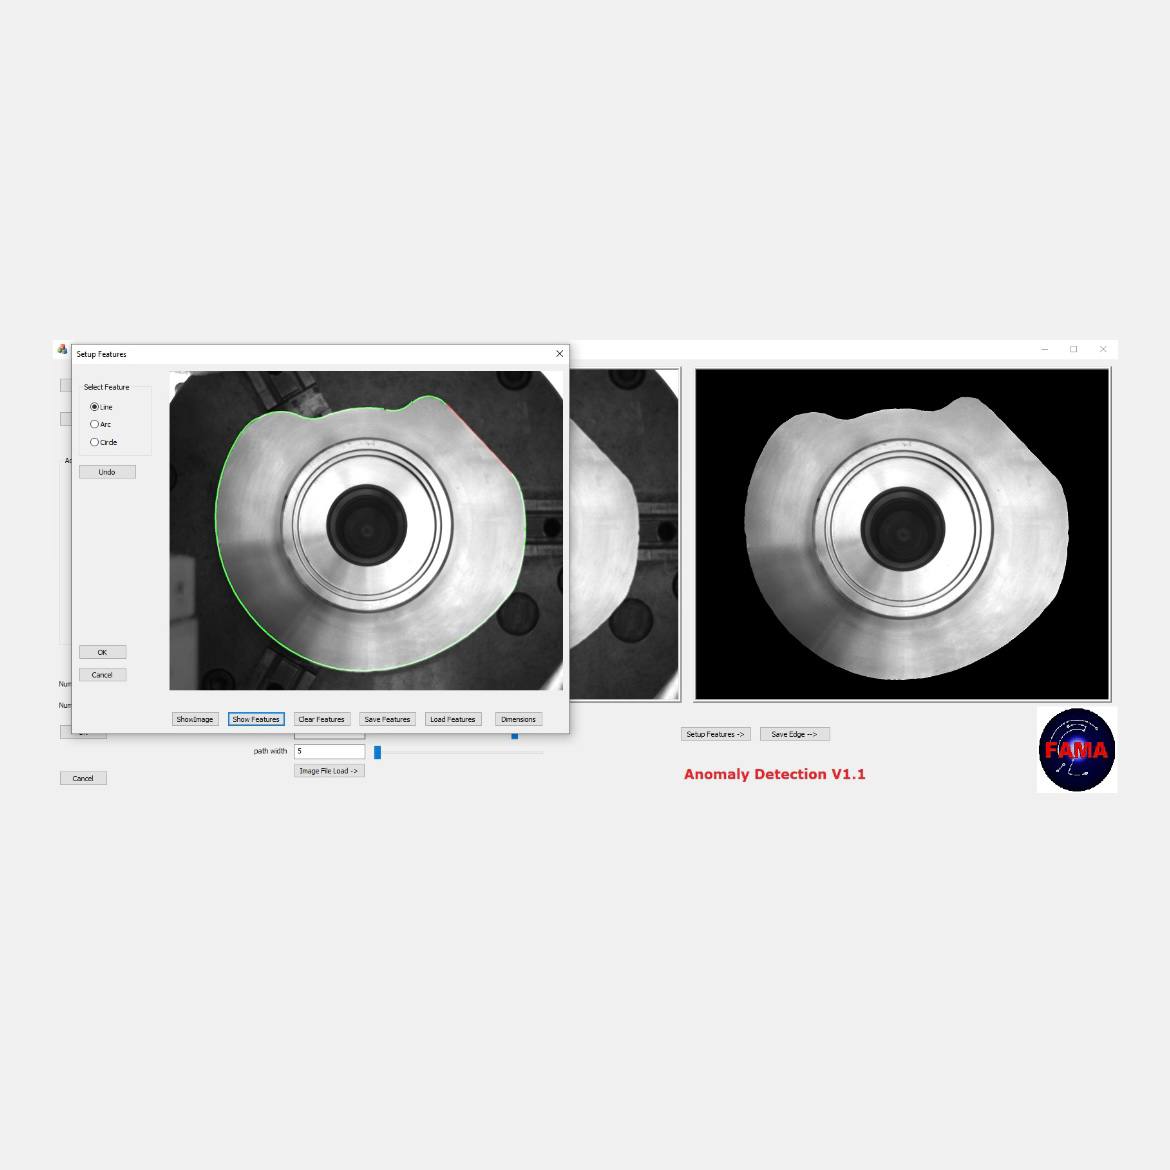
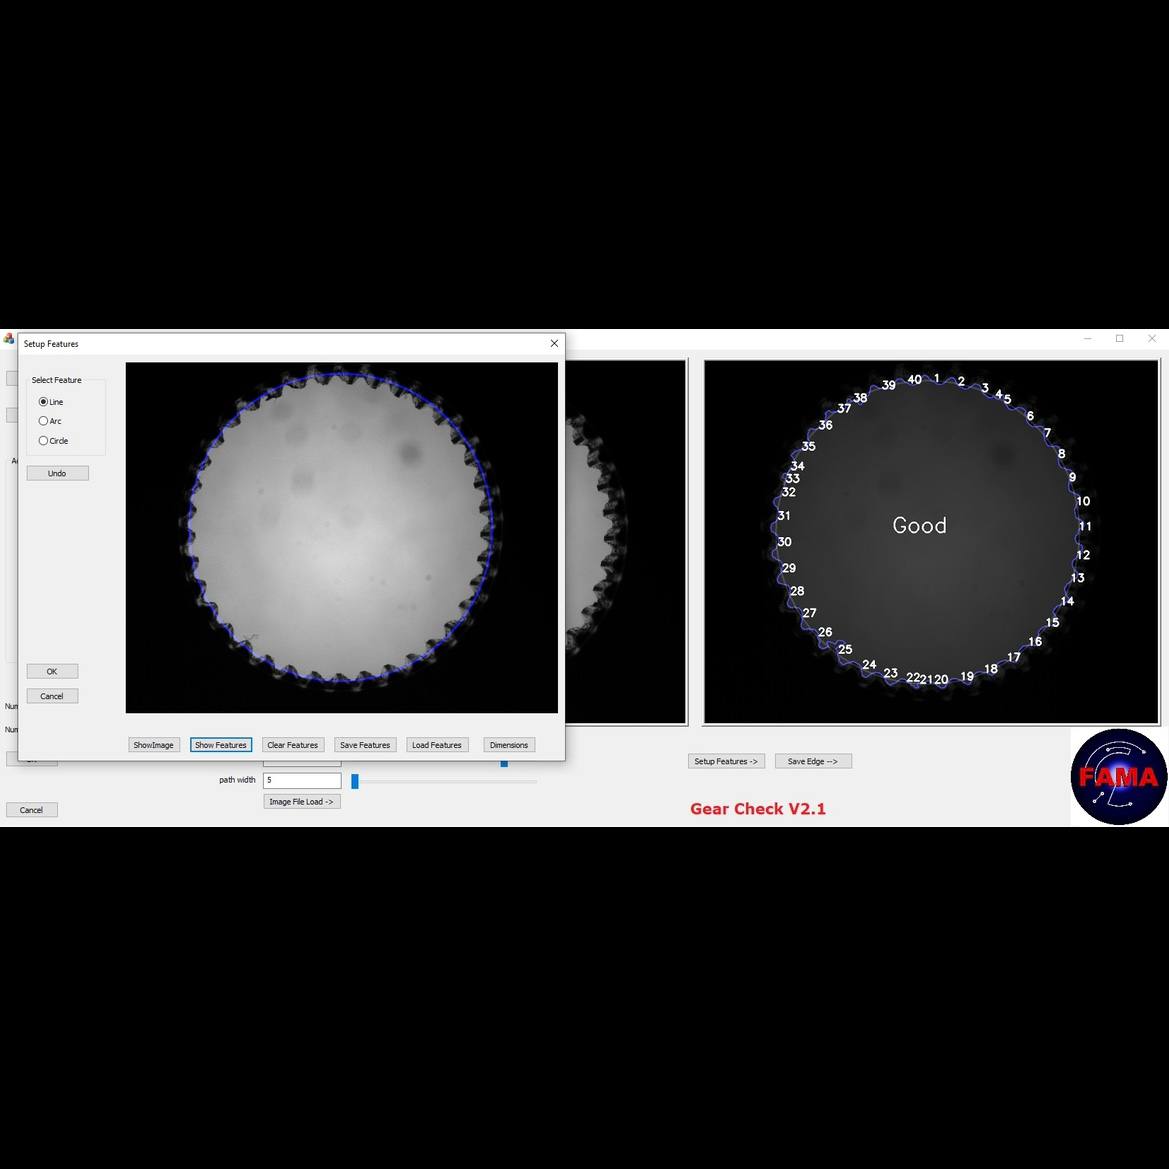
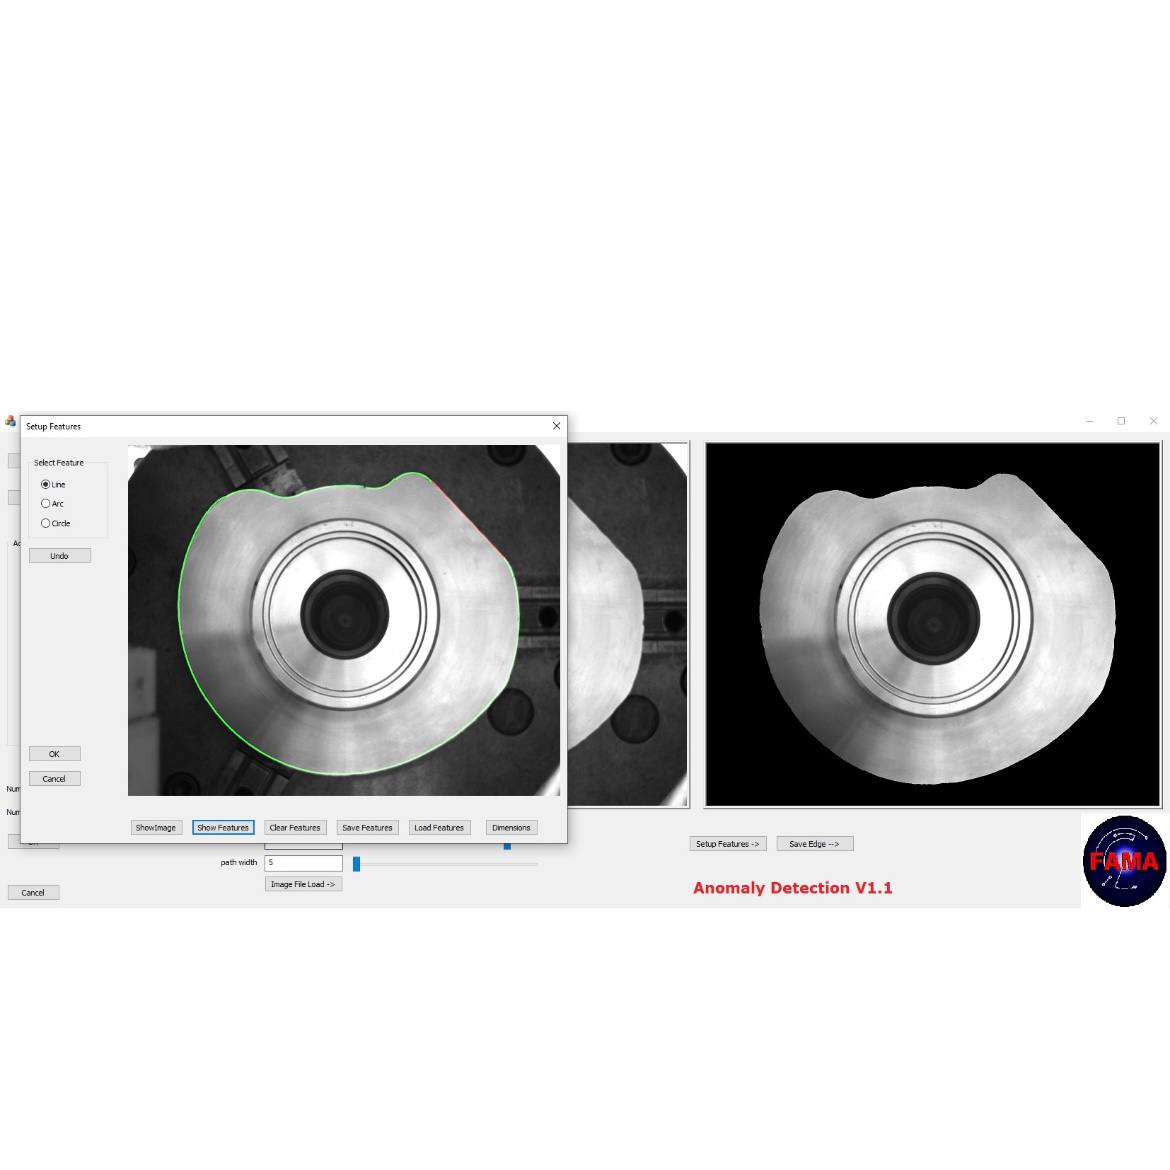
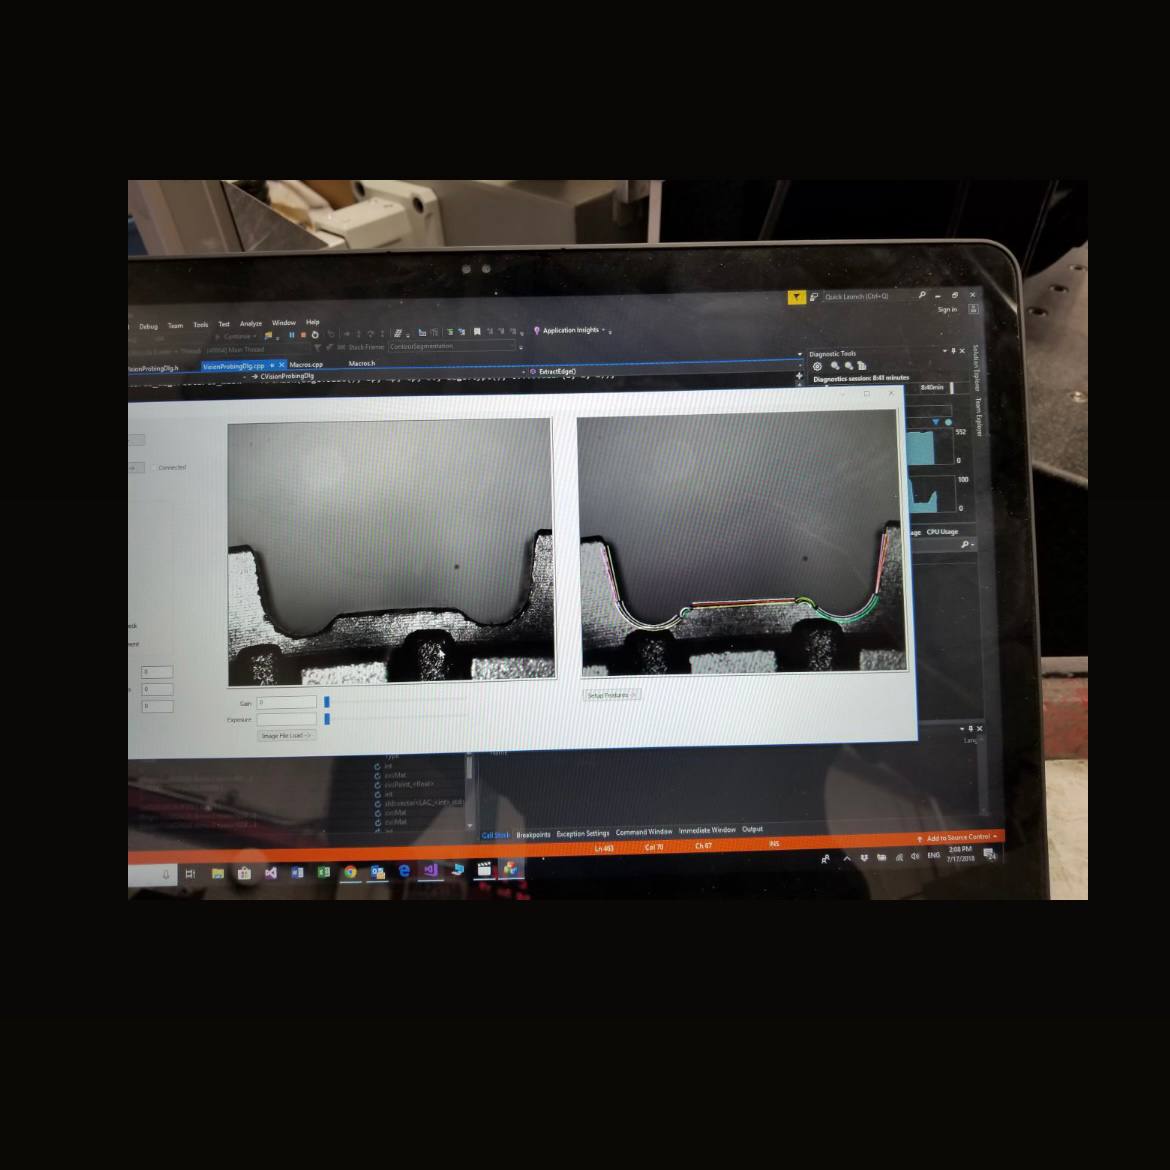
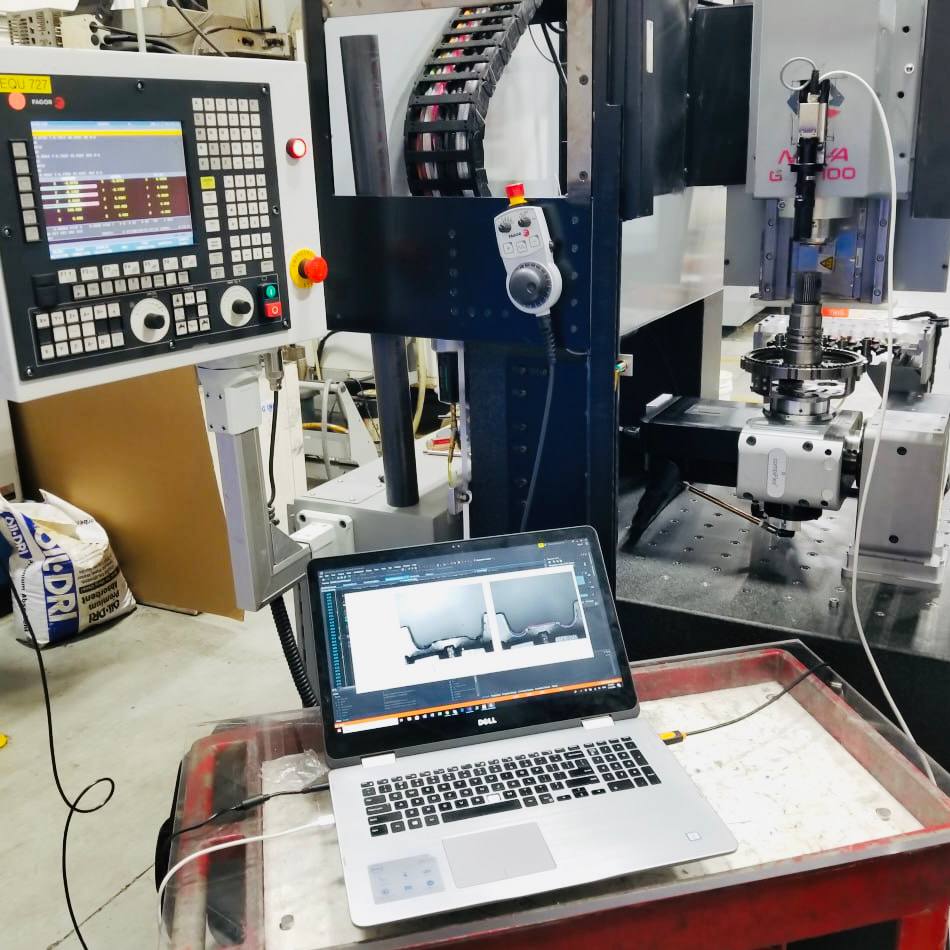
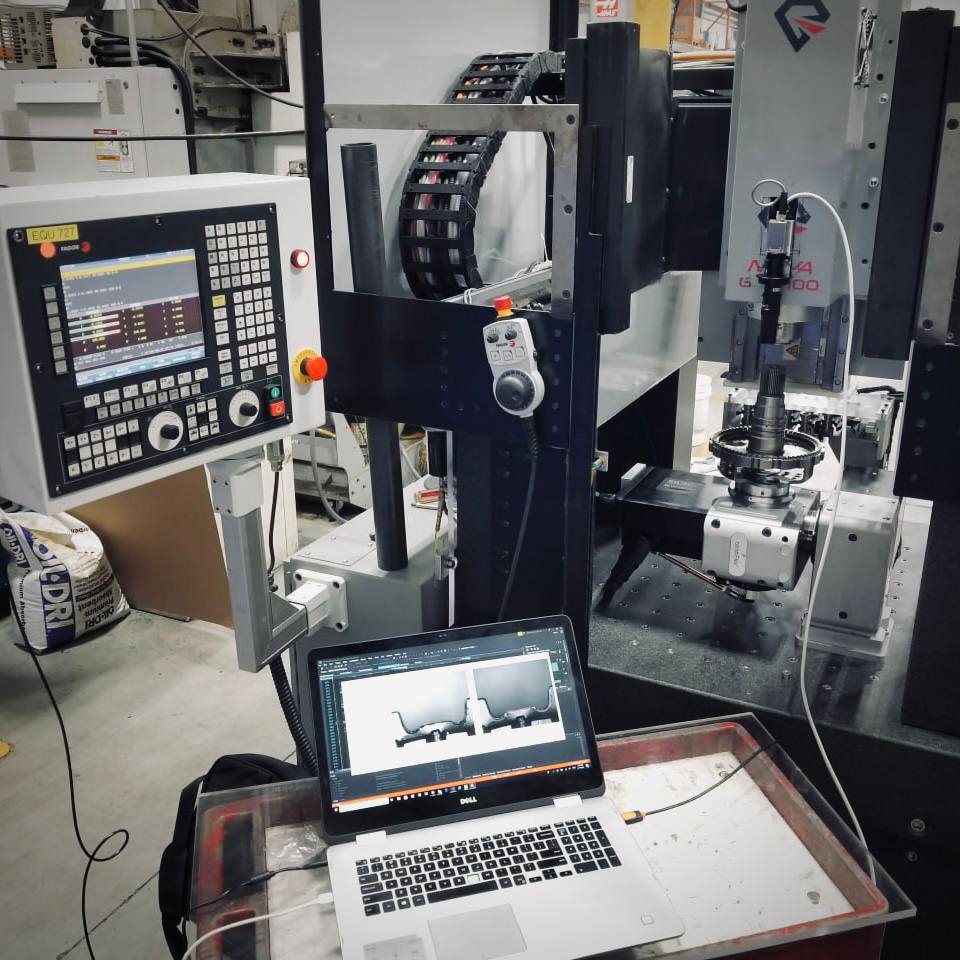
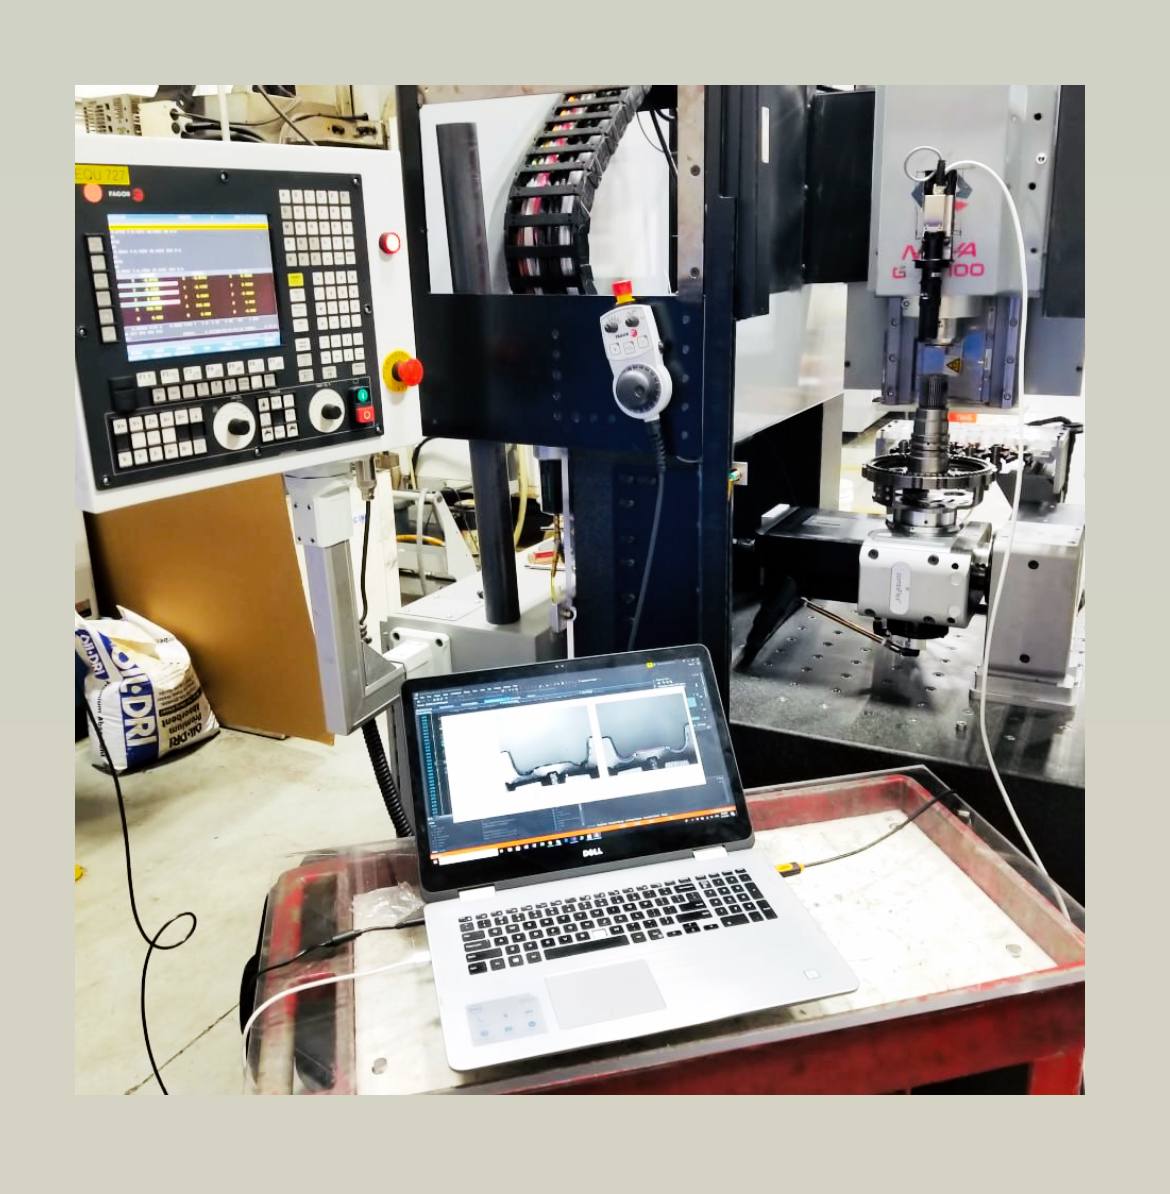
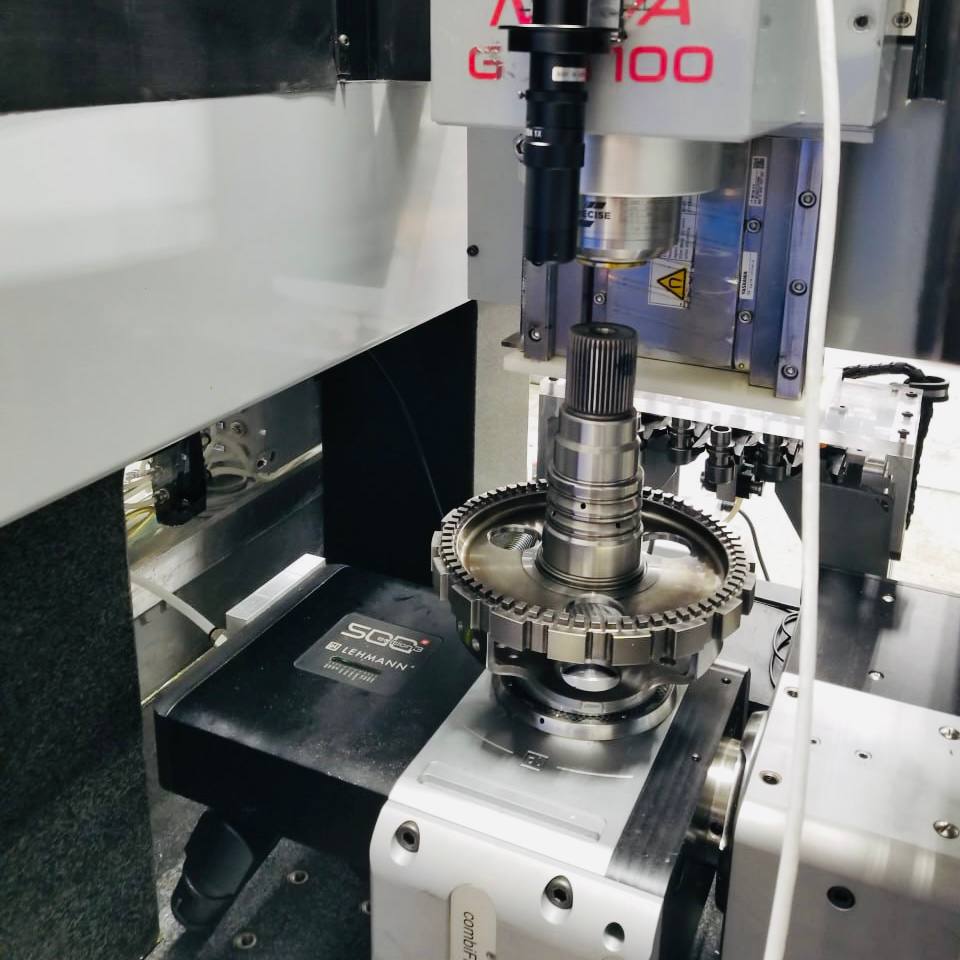
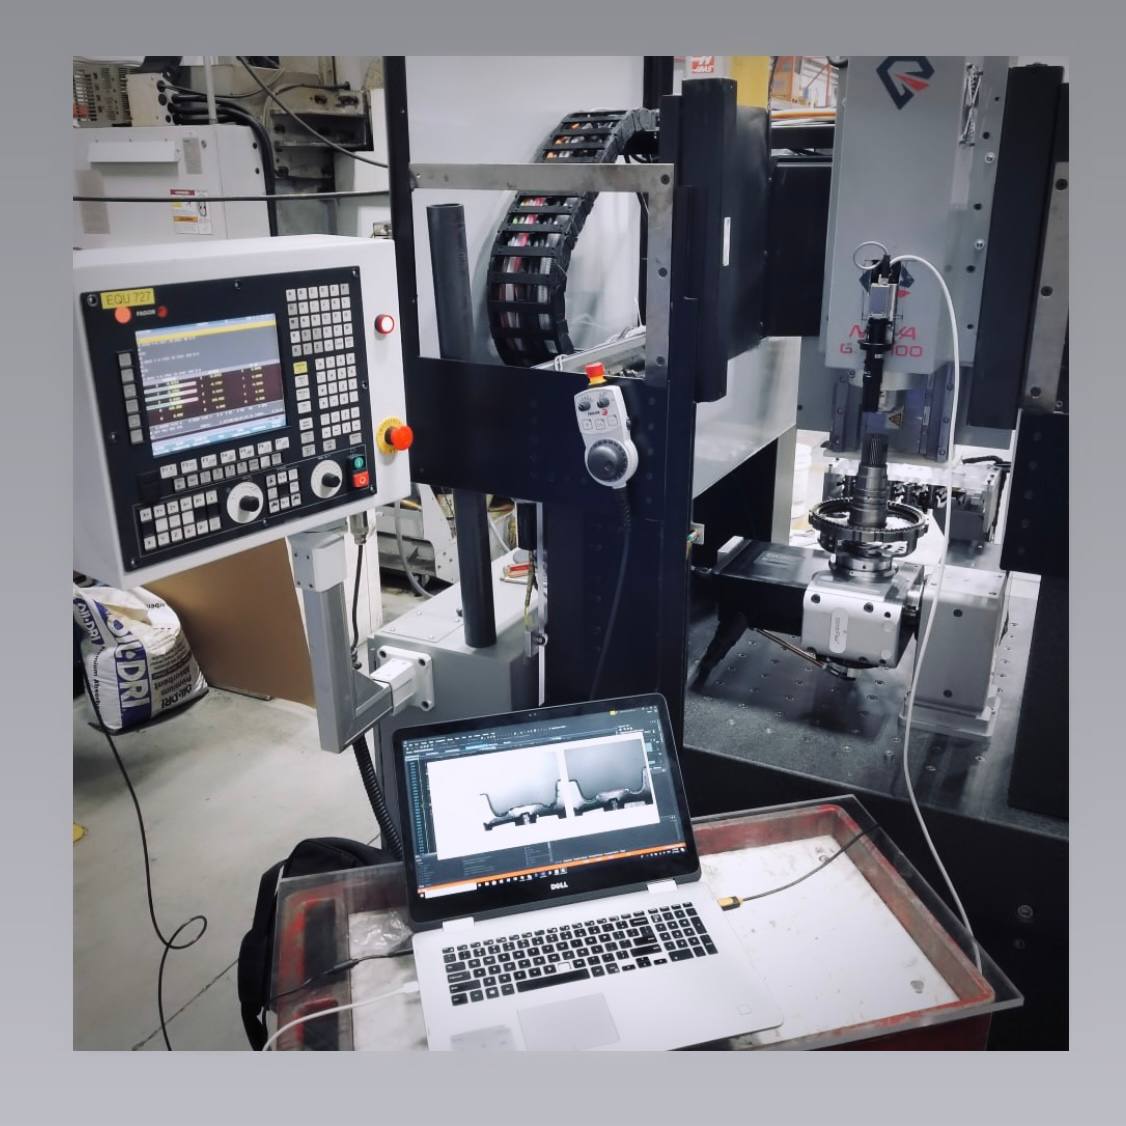
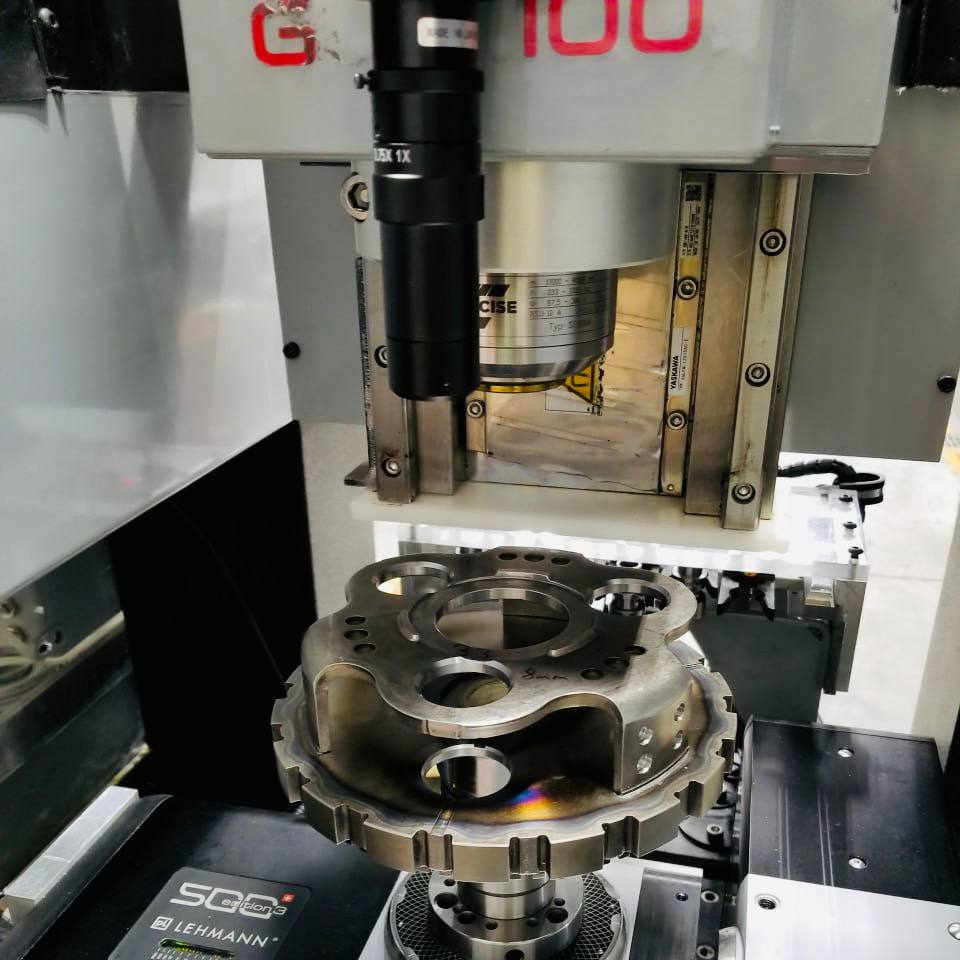
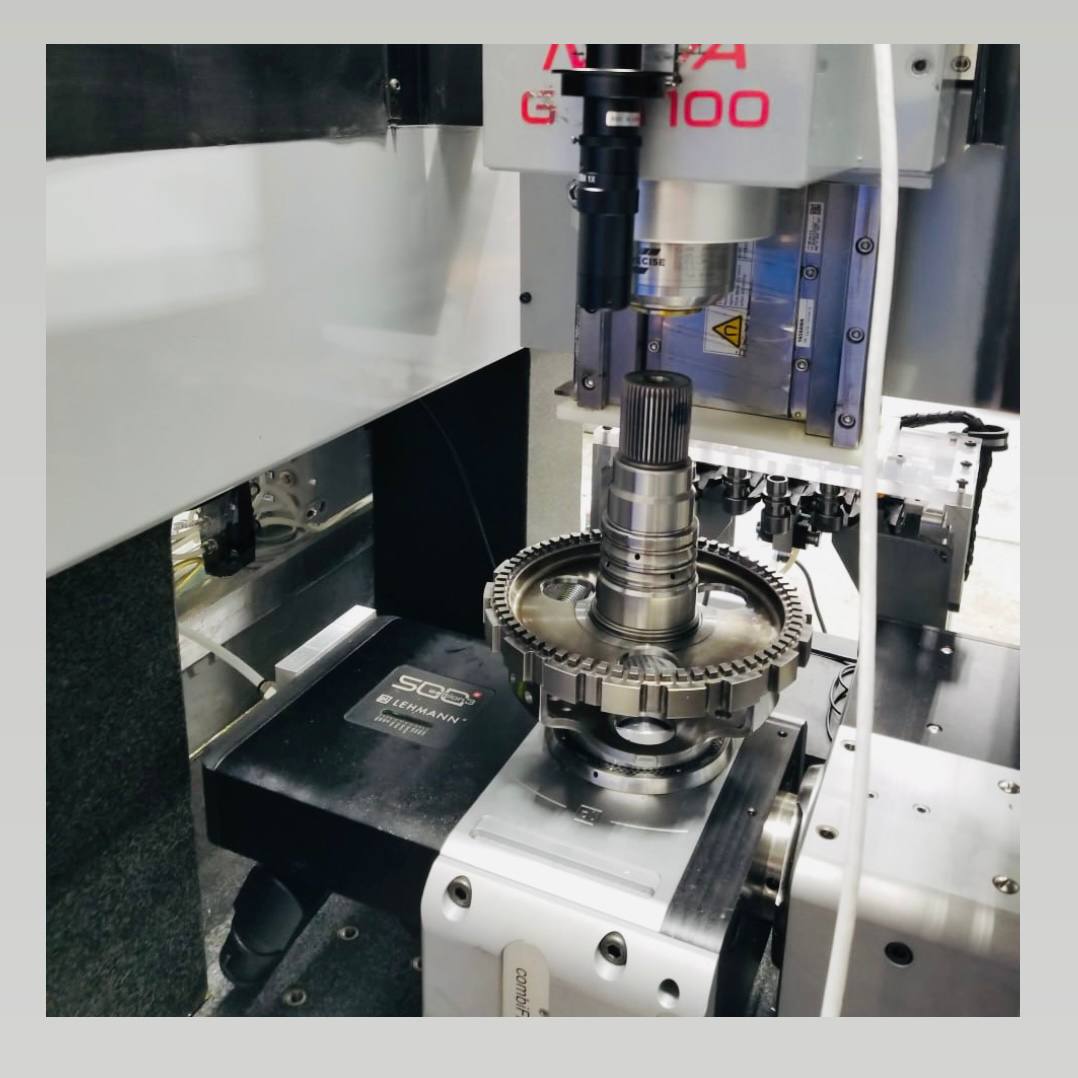
The solution lies in vision probing, a system with high accuracy for finding a specific feature on the part. A camera looks at the part, pinpoints the feature’s location and records it for future calculations. Since the procedure involves no contact, the probing is both safe and quick (less than a second per feature). Always above the parts, the camera moves swiftly and the system algorithm finds any feature in a split second.
The location is then saved in a file that can be translated to a CNC program tailored for each part regardless of its geometrical deviation.
To discuss more about price, delivery time and customizing the product, please contact us
To discuss more about the
price, delivery time and
customizing the product,
please contact us
Contact Us
Want to know more about FAMA and our services? Send us a meassage and we’ll get back to you as soon as possible.
